
Deep pantry shelves can be tricky and inconvenient to figure out how to organize. These six steps will help you creatively organize a deep pantry on a budget with items from the Dollar Tree!

My Pantry Woes
When my husband and I first got married, we lived in a tiny one bedroom apartment with no pantry. A year later, we moved to another tiny one bedroom apartment with, you guessed it, no pantry. Two years after that we moved into a small two bedroom house (our current home) that also lacked a pantry. As you can imagine, I have had to get pretty creative with my pantry organization over the years.
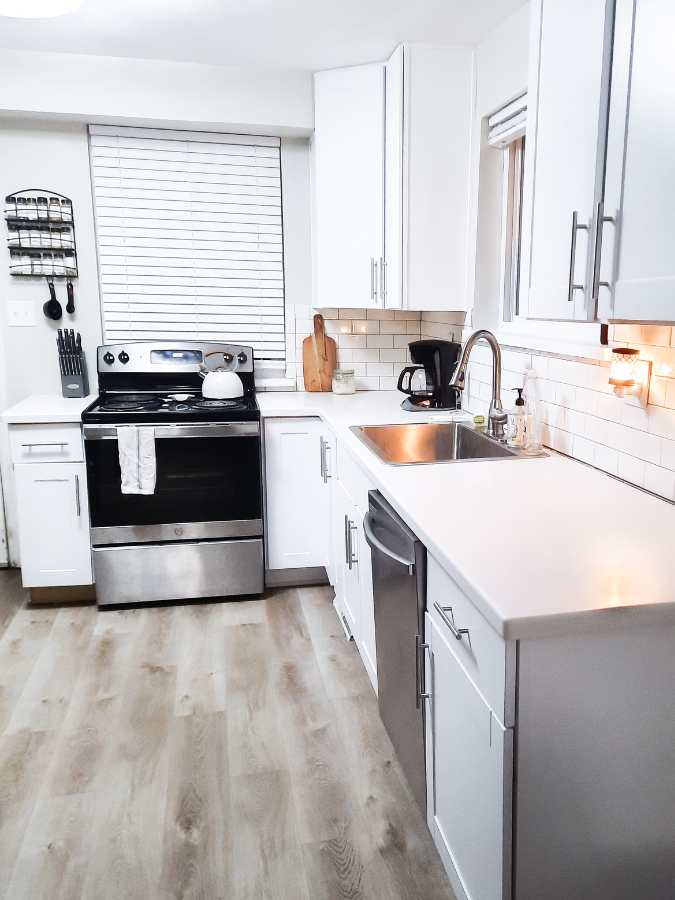
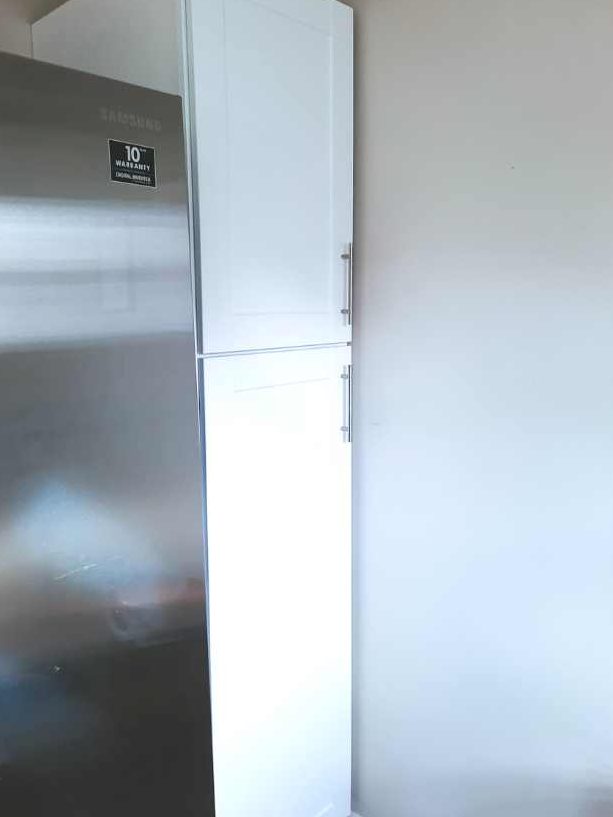
Compared to our two small apartment kitchens, our current kitchen feels like a dream. While it is still small, the furnishings are beautiful and the counter space feels astronomical. However, because it has no pantry I have had to use a couple of narrow cupboards hidden in the corner by our refrigerator.
Deep Pantry Organization Struggles
We have lived in our home for two years now, and for the first year I found myself rearranging my makeshift pantry over and over again, only to have it end up looking like this within a week.
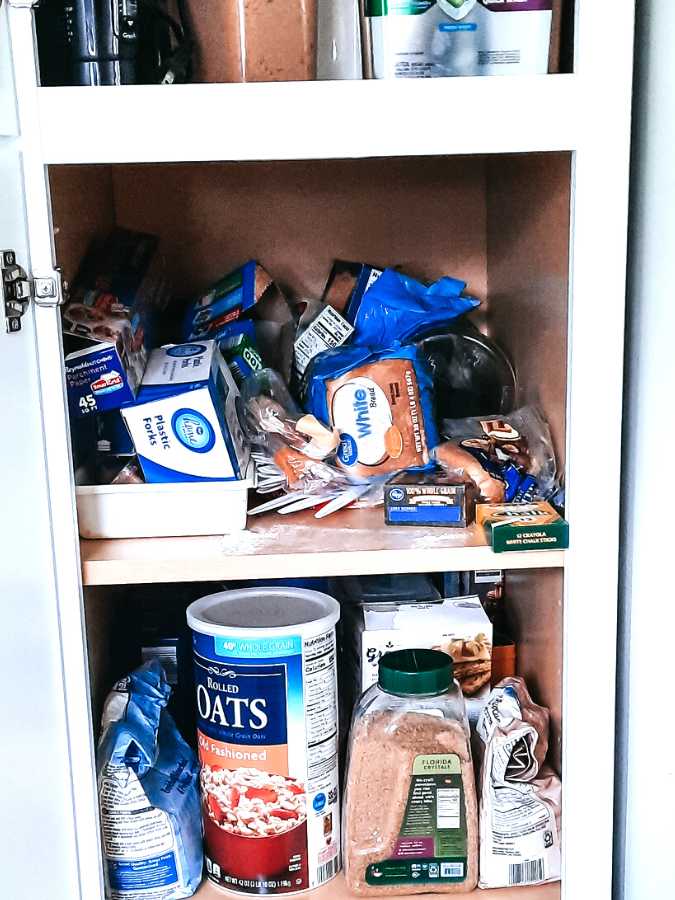
I searched numerous articles to find solutions for my pantry dilemma. However, most simply contained recommendations for expensive organizational items to cure my pantry woes. The problem was, I had absolutely no room in my budget for these pricey purchases.
After many months of reorganization attempts, I am happy to announce that I finally found a solution that works. The best part is that it only cost me about $15 at the Dollar Tree. So here you go, my five steps to organizing a narrow deep pantry (and keeping it that way):
Step 1: Clean out Your Pantry
As any article on pantry organization will tell you, you must start with getting rid of anything that does not belong. This includes anything expired, food you will never use, or items that are not pantry related. It is helpful to sort things into 3 separate piles: Toss, Donate, and Re-home. So what are you waiting for? Grab your beverage of choice, turn on your favorite jam, and empty that pantry. I’ll be over here sipping my coffee and listening to my John Williams while you’re at it.
Step 2: Organize into Categories
The next task I would recommend is to organize what is left into categories. To give you an example, these are the categories I used:
- Bread
- Baking Supplies
- Cookbooks
- Herbs and Spices
- Pasta
- Snacks
- Miscellaneous
- Canned Goods
Of course, your list may look a bit different than mine depending on what you keep in your pantry. Feel free to get creative here!
Step 3: Measure Your Pantry Shelves
This step is very important my friend, so definitely do not skip! It can save you a bunch of money and frustration in the end. Be sure to take some time and measure those shelves. This will ensure you know what size of containers will fit in them and how many you will need.
Step 4: Head to the Dollar Tree!
You could really go shopping for organizational bins anywhere, but because I was on a tight budget, I chose the Dollar Tree. I personally think they have greatly improved their organizing options over the years. The fun (or not so fun) part about the Dollar Tree is that every store is different and some days have better stock than others. If they don’t have much available at a certain store or on a certain day, be sure to look around at some other options if you can. You could also ask someone at the store when they might be getting some restocks or check out what they have available online here.
Keep in mind, you will not always find the prettiest bins and baskets here, but because my pantry is behind closed doors (well, cupboard doors), I don’t care so much how they look. Once you find some options that will fit on your shelves, head home for step 5!
Step 5: Organize Your Pantry
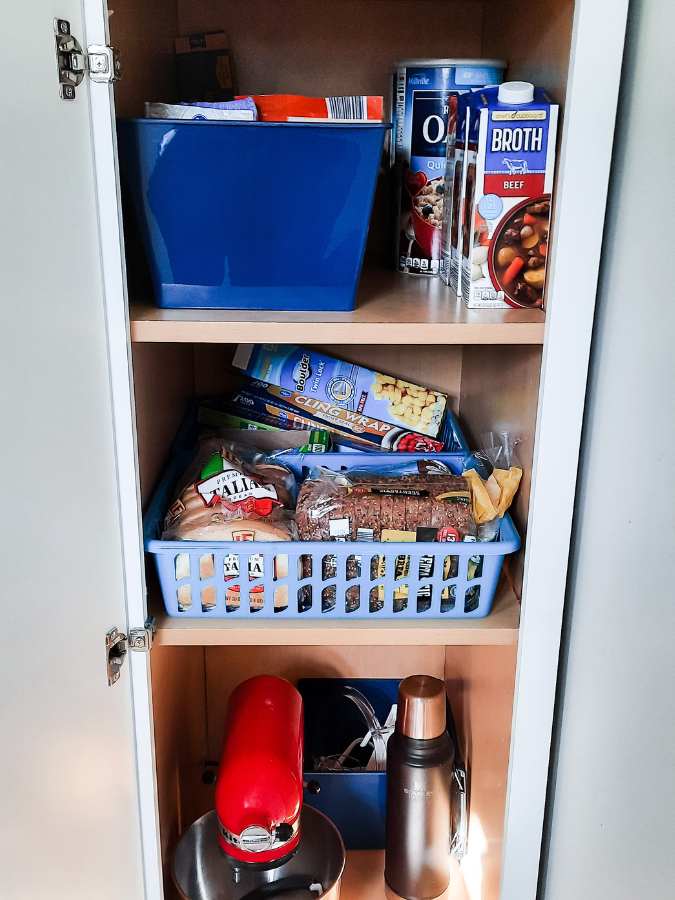
Now comes the fun part (or maybe the not-so-fun part depending on your personality). This might take a few tries, but the goal here is to take all of the items from your categories and place them in the bins and baskets you purchased. These bins and baskets will function like makeshift drawers (instead of having to actually purchase fancy pantry drawers). I ended up placing mine two bins deep in my pantry, so in order to access the back bin I have to take out the one in front of it. However, this is so much easier than having to take out five cans of tomato sauce, a box of noodles and some random chip bags to get back to the plastic wrap! This way, your rows and categories will stay nice and sorted even when you have to access the deepest and darkest crevices of your shelves.
Step 6: Test out Your New Pantry
Be sure to show off your hard work to your roommate or the rest of your family, and also explain to them how everything is set up. Take a week and see how everything functions. Did everything stay where it was supposed to, or did your setup fall apart pretty quickly? If so, take some time to figure out what the problem might be and don’t be afraid to do some rearranging. Labels are also very helpful, especially if other people are putting things away in the pantry. This will help everyone to remember where things go.
Bonus Tips
Every space is different, so please consider these additional suggestions:
- No two pantries are the same, so be willing to get creative as needed. For example, my space is stoo small for all of our food related items, so I keep a basket on top of my fridge for snacks and most of my canned goods in another cupboard. If you do keep your cans in your pantry, you may consider looking for some inexpensive organizational items that allow you to nicely stack your cans.
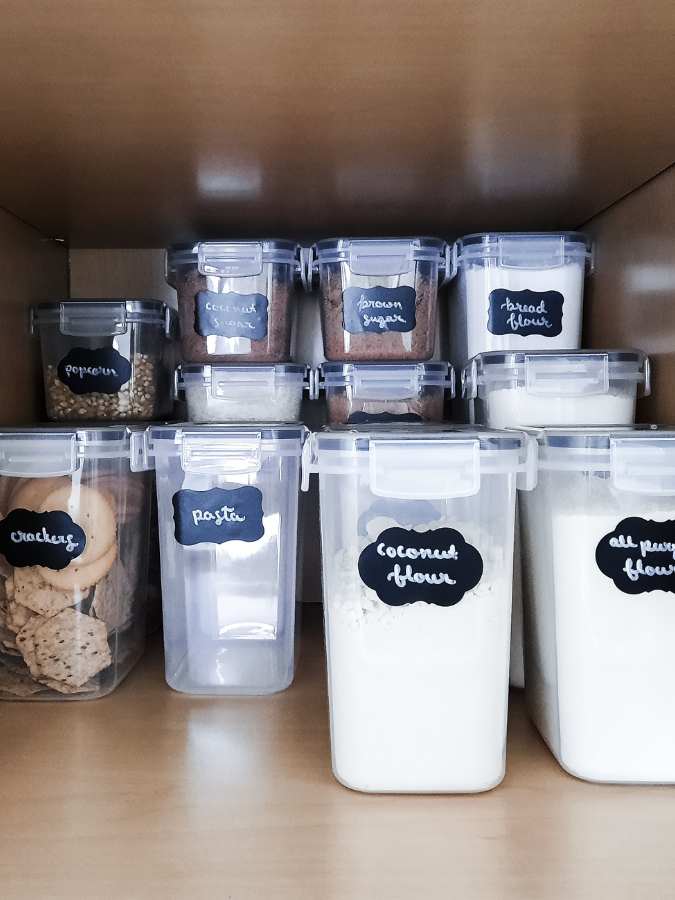
- If you are on a tight budget, simply place your baking supplies like flour and sugar in a basket. However, if you can spare the money, investing in some nice stack-able food storage options can be a big help. I had been gifted some for Christmas the previous year and they are my favorite part of my pantry. I hope to be able to invest in some more in the future for our rice and pasta.
- If you are not a fan of the look of Dollar Tree bins and want to spend more for something prettier, perhaps consider trying the Dollar Tree bins at first and then investing in some more aesthetically pleasing options later. This will give you the chance to figure out what actually works in your pantry first before you spend a bunch of money on bins that don’t actually make sense.
I hope you found some or all of these ideas helpful as you begin the somewhat overwhelming task of organizing your deep pantry. Tasks like this don’t have to be tedious, and can actually be pretty fun if you have the right mindset! So what are you waiting for? Why not get started today!
Great post! My pantry could use some re-organizing. I really like the options you showed from the Dollar Tree!
I’m so glad you found this helpful!
I have also lived in many homes without pantries, it can be challenging for sure! Dollar tree bins can be so helpful all over the house. One thing I have learned from “the Clutterbug” lady, is that there are different kinds of organizers, and I’m a visual organizer. So I do best with clear bins, so I can still see what is inside, but also have things together. And then yes, shut the cupboard door. 🙂
Awesome tips! We have a deep pantry and I need to get some more bins to organize the food into. I’ll check our local dollar store!